Monday, 2 June 2014

DVD Menu Analysis

DVD Menu Analysis

http://cwadvd.blogspot.co.uk/

Shrek DVD Menu


The 'Shrek' DVD menu, released in 2001 has a very unique style and setup. On the main page of the menu where there are a selection of categories for you to chose from. As it is a Disney film who's main audience is children of all ages, it needs to maintain appealing for that audience even on the menu. The menu consists of a lot of the fairy tale characters that everyone is familiar with, and that also star in the film itself. A great feature of the menu is how the characters are moving and interacting with one another and are moving and speaking. There are many different selections for you to chose from such as; 'Play', 'Scene Index', 'special Features', 'Subtitles', and 'Audio'.

Shrek (2001)
If you were to select the 'Subtitles' you are taken to a serperate page where you can select languages and subtitle options. Once connected to this page there yet again is another character from the movie. As you move from each option they are highlighted so you can see what you are picking.


Shrek (2001)
 
The screen index is much like any other scene selction. As Shrek is a Disney film they need to keep the Disney theme. Like other scene selections there are titles and snippets of the scene you are wishing to watch. The whole look of this page fits in extrememly well with the film and it doesn't look odd or out of place at all. Simarlary to the subtitles page and the main menu page all links are highlighted once clicked on.


Special features consists of yet another main character in the film. When highlighting a link the Gingerbread Man he'll say different things depending on which link you're on, which makes it more fun for the viewer and it's also very creative.

 
Overall I think this menu is very creative and well developed seeing as the film was made in 2001, some menus even today 13 years on aren't as well done as this one. I believe that is also captures the Disney theme that it is child friendly as it doesn't just look like a menu there are also funny features before you've even watched the film
 
Matrix DVD Menu
 
 
The main menu for the Matrix starts off showing clips of the film, as if it had already started watching the film itself. Fitting in the Action Sci-Fi genre it uses sound effects to fit in with this theme, it also uses those sounds when the menu links appear on the screen. A loop of what looks like the most important and captivating scenes from the film are being played on loop behind the menu options. Just like a lot of menus there are links to different pages that take you different things, these links are; 'Play Movie', 'Languages', 'Special Features', and 'Scene Selection'.
 

Just like the Shrek menu the Matrix also has link pages, the 'Languages' page takes you to a page that you can chose which language you would like to watch the film in, it also gives you the option of subtitles and commentary throughout the duration of the film.

 
The other link of 'Scene Selection' link takes you to a separate menu with the selection of different scenes from throughout the movie for you to skip to. Each link has a title to give you idea of where you either stopped watching or where you would like to start watching the film.


Just like the Shrek menu there is a special feature link, which similarly takes you to a separate page with links that take you to perhaps behind the scenes work or interviews with the cast and crew.
 
For a film that was made 1999 the menu is very developed as it uses a loop of footage in the background and a very well fitting font for the menu link titles. The footage in the background gives you slight insight of the film, and really gets you in the mood to watch the film as it shows some of the best scenes of the movie.


27 Dresses DVD Menu
 
The main menu for 27 Dresses which was made in 2008 is extremely creative. Unlike Shrek and Matrix the main menu image doesn't show any of the actors that star in the film. Because of the storyline of the film, and because it's a girly Rom-Com about weddings and finding love, and betrayal. So the main menu is set out as if it was a dress sketch book for a designer. Just like all the other DVD menus I've looked at it has similar links; 'Play', 'Language', 'Scenes', 'Special Features', and 'Inside Look'.


The 'Language' link on the menu just like all the other menus I've looked at takes you to a separate page with different options of different languages and subtitles. On this separate page it now shows pictures of different actors that star in the film, I assume this is to give you a snippet of who is in the film.
 
 
The 'Scenes' page is still fitting in with the girly Rom-Com theme as there is a lot of pink and to fit in with being about weddings and dresses they have features hangers above each link to a scene in the film for you to skip to. To make it easier for you to pick which scene you want there are pictures of each scene so you can familiarise yourself where you left off.


The page which links with 'Special Features' has a lot of links within that page to a lot of different types of footage, like deleted scenes, and a lot of backstage footage. It's great how DVD menus can be just more than a link to the full movie, they can also hold a lot more like extras and for even some menus have games for the younger audience. The DVD menus I looked at obviously have a larger capacity and can hold a lot more information and footage than some menus that just link you to the movie.


Sunday, 2 February 2014

Using DVD Studio Pro

Creating DVD Menu and Assets

Step 1
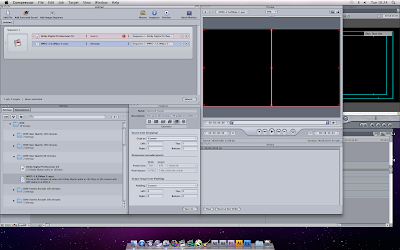
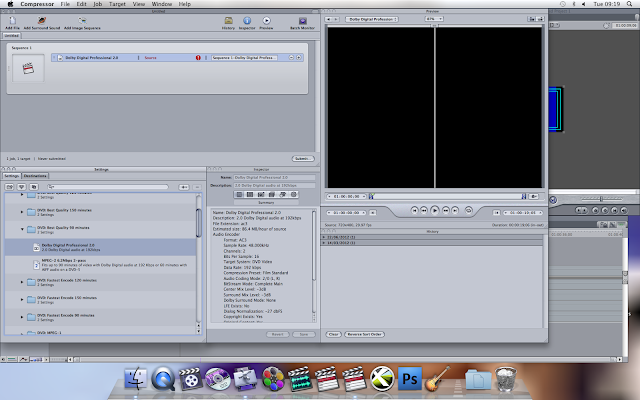
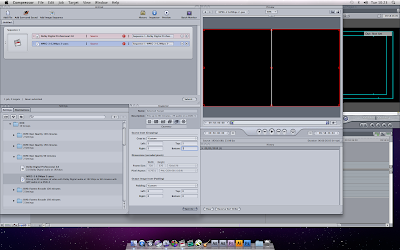
First of all I opened Compressor like I did for the Studio Pro step by step. Firstly I opened Final Cut Pro, thern by clicking on File, then Send To, then onto Compressor. I then had to find a file named 'DVD Best Quality 90 Minutes' after clicking on that file we could see two files names 'Dolby Digital Professional 2.0' and 'MPEG-2 6.2Mbps 2-pass'. Just like before I had to select the two files and drag and drop them into Sequence 1.

Step 2
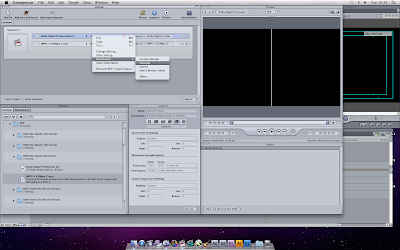
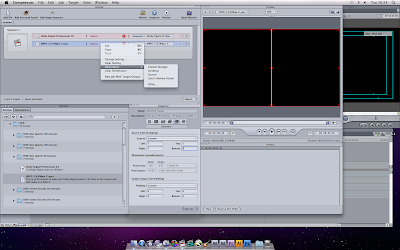
After dropping both files into Sequence 1 I then right clicked on the file named 'MPEG-2 6.2Mbps 2-pass', this file will be placed in Sequence 1. After we have right clicked on the following file I then had to select Destination which will let us choose where we want to send/save the file. I chose to save the file onto my Desktop.

Step 3
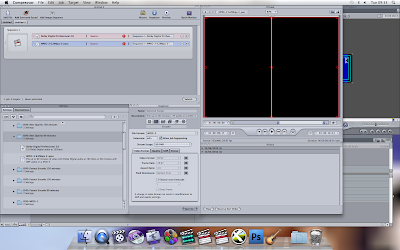
The next step I took was to go onto Inspector which is places on the right hand side under Sequence 1, and change some of the settings. What I had to do is look at the Geometry and make sure that everything was correct. As I said , go to Geometry then make sure the setting Crop is Crop to Custom, then change Left, Right, Top and Bottom 2.

Step 4
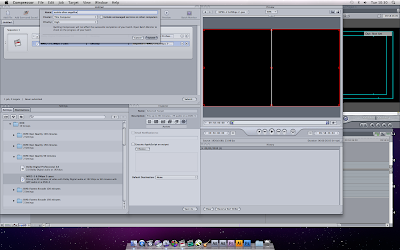
I then saved the file again, so I right clicked on the file placed on Sequence 1, then chose Destination, then Desktop.

Step 5
I then submitted the file, so I had to click on Submit to do so. The submit option is placed above the Inspector and underneath Sequence 1. I named the file 'Suskia Ellen Angelika', then made sure that the Cluster was set to Cluster This Computer and that the Priority was set to Priority High. | then submitted this and then waited until was Successful.

Step 6
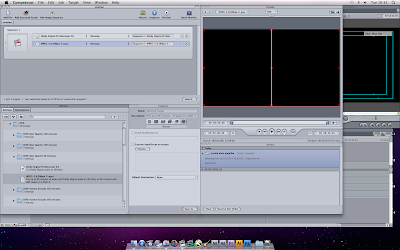
Now that the file has submitted successfully I'll be able to see a tab appear named History which is places on the right hand side of the Inspector. In my case the file was submitted successfully as we can see the file named 'Suskia Ellen Angelika' where it says History Today. It shows the date of submission and that it was successful. 

Step 7
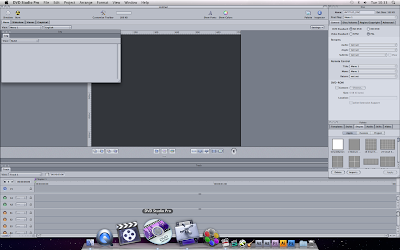
For the next part of the DVD Menus and Assets creation I'll have to open DVD Studio Pro.

Step 8
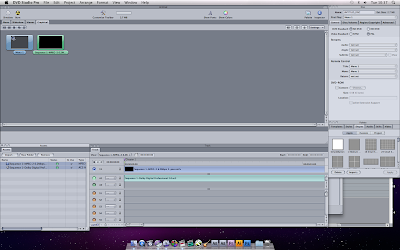
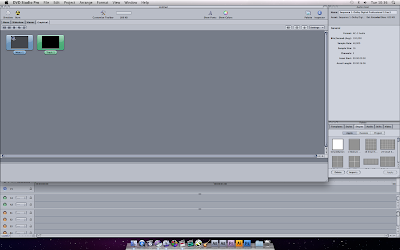
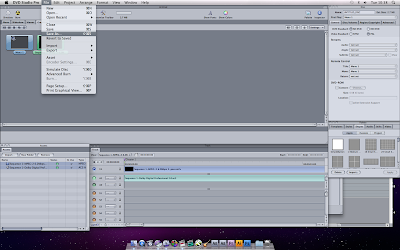
After opening DVD Studio Pro, I clicked on File, then Import, then Assets then chose files 'Sequence 1-MPE.bps -pass.m2v', 'Sequence 1-MPE.bps 2-pass.m2v' and 'Sequence 1-Dol Professional 2.0.ac3' then I clicked Import.

Step 9
I then clicked on Graphical an dragged both files up to Graphical Sequence 1.

Step 10
I then went onto File, Save As, then Save.

Step 11
 
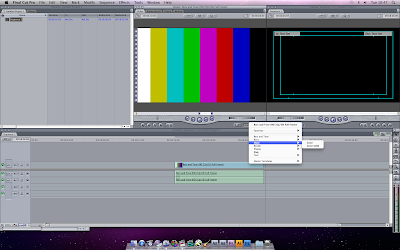
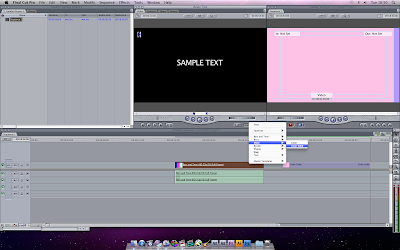
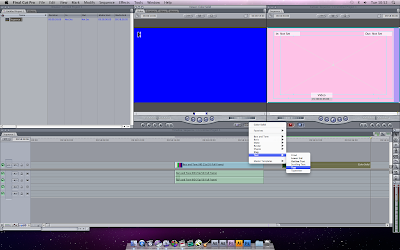
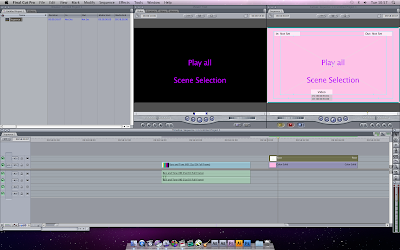
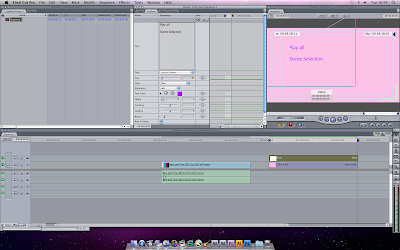
The next step I took was to go onto Final Cut Pro, click onto Text then Matte, and then Color Solid, after that it was Controls, then Color, and then Change The Color, then once all of that was chosen it clicked OK, and finally dragged and dropped it all into Sequence 1.

Step 12
 
I then had to change the color, to do that I clicked Text, then again Text then once more Text, and then moved onto Controls, Font Color, Change Color, and then changed Alignment to Left and then completed it by clicking OK.

Step 13
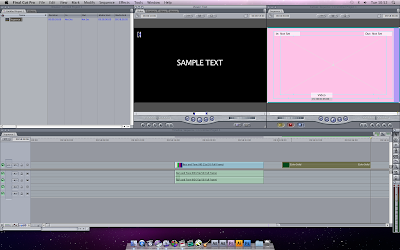
After clicking OK I then had to drag and drop the text to Sequence 1 just above the Color Solid.

Step 14
The final step was to click Sent Input then Save As, then give the file a name and then Save and Output.


DVD Studio Pro

Compressor

Step 1

First of all I opened Final Cut Pro, then clicked Send To, then on Compressor. When the Compressor opened I had to find a file named 'DVD: Best quality 90 Minutes' in Setting. Once I found file I clicked on to it and as it expanded we could see 2 other files called 'Dolby Digital Professional 2.0' and 'MPEG-2 6.2-pass'. After clicked on 'Dolby Digital Professional 2.0' and dragged it up to Sequence 1.

Step 2
After dragging the file called 'Dolby Digital 2.0' up to Sequence 1, I had to repeat the exact same process with the other file, 'MPEG-2 6.2 2-pass'.

Step 3
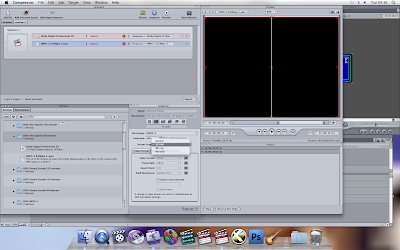
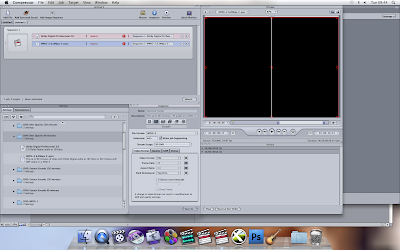
After dragging both files up into Sequence 1, I then clicked on the second file in Sequence 1, and went onto Inspector. This option allows you to change the Video Format, Aspect Ratio, and also the Field Dominance. First of all I changed the Video Format.

Step 4
The next step I took was to click on the Stream Usage to make sure the Stream Usage is set to SD DVD.

Step 5
When I clicked on Video Format I changed it from NTSC to PAL. As we changed the Video Format to PAL, you could see Format Rate automatically change from 29.97 to 25. I also changed the Field Dominance from Bottom First to Top First.

Step 6
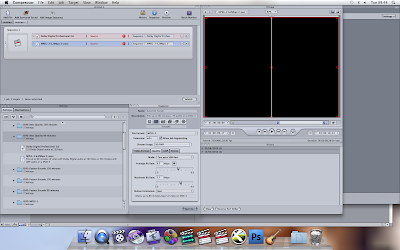
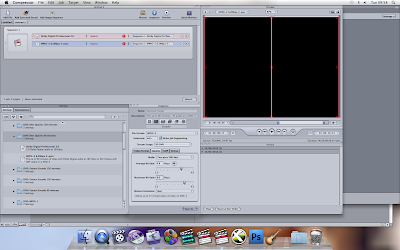
After clicking on Quality in Inspector. Quality options allows you to change the Mode, Average Bit Rate, Maximum Bit Rate, and Motion Estimation.

Step 7
I then had to choose Mode: Two pass VBR Best, as it is the best and goes through every field and makes sure the quality is the best when it comes to compressing. Although the only problem with Two Pass VRB Best mode is that it's slow and it takes a long time to compress. After we checked that the Mode is Two Pass VBR Best, I changed the Average Bit Rate from 6.2 to 6.8Mbps, then also changed the Maximum Bit Rate from 7.7 to 8.0Mbps, and the Motion Estimation had to be Best. 


Thursday, 30 January 2014

Introduction to Unit 58 DVD authoring

Introduction

Within this blog I will be showing:

1. Researching DVDS
2. Layers within a DVD
3. The History of DVDS
4. Copyright within DVD making
5. How Interactive Menus have changed over time
6. Regions of formatting for a DVD
7. Different sizes of DVDS

I will attach screenshots of work I will do over the period of time for this blog.

I will summarise the work I am doing.

Include screenshots of the DVD authoring for the Thornham project.

Write both negative and positives aspects of the project and other work too.