Creating DVD Menu and Assets
Step 1
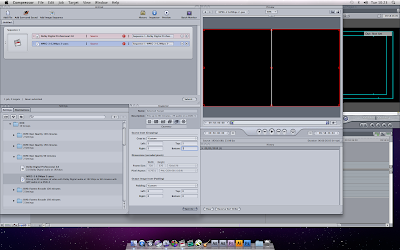
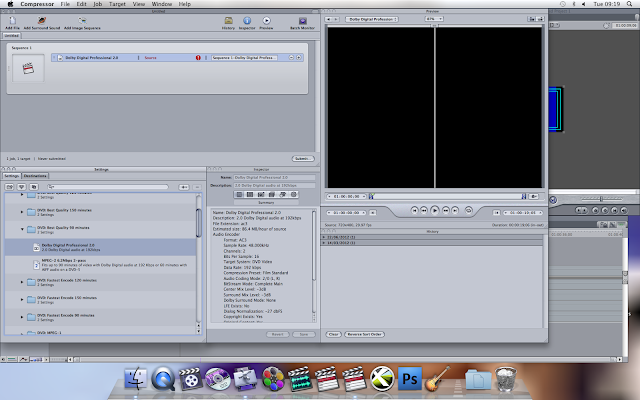
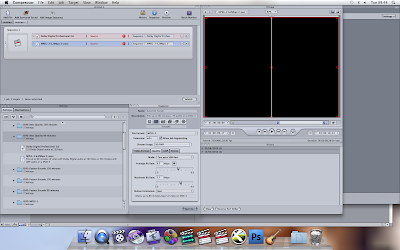
First of all I opened Compressor like I did for the Studio Pro step by step. Firstly I opened Final Cut Pro, thern by clicking on File, then Send To, then onto Compressor. I then had to find a file named 'DVD Best Quality 90 Minutes' after clicking on that file we could see two files names 'Dolby Digital Professional 2.0' and 'MPEG-2 6.2Mbps 2-pass'. Just like before I had to select the two files and drag and drop them into Sequence 1.
Step 2
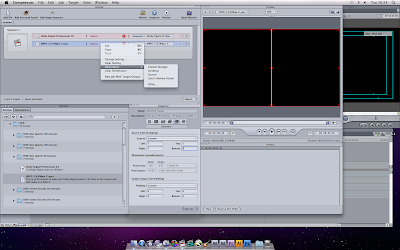
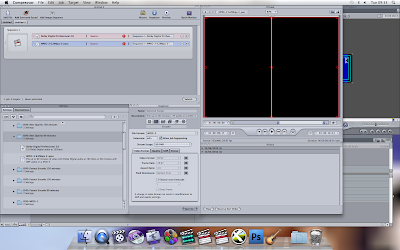
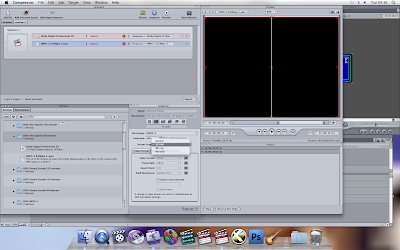
After dropping both files into Sequence 1 I then right clicked on the file named 'MPEG-2 6.2Mbps 2-pass', this file will be placed in Sequence 1. After we have right clicked on the following file I then had to select Destination which will let us choose where we want to send/save the file. I chose to save the file onto my Desktop.
Step 3
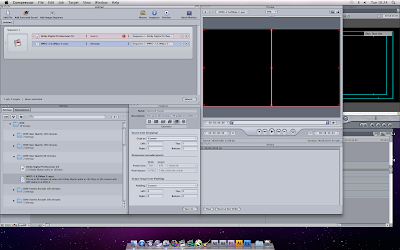
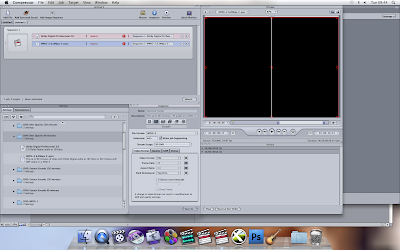
The next step I took was to go onto Inspector which is places on the right hand side under Sequence 1, and change some of the settings. What I had to do is look at the Geometry and make sure that everything was correct. As I said , go to Geometry then make sure the setting Crop is Crop to Custom, then change Left, Right, Top and Bottom 2.
Step 4
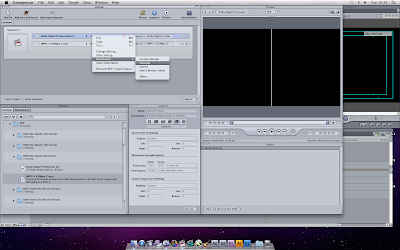
I then saved the file again, so I right clicked on the file placed on Sequence 1, then chose Destination, then Desktop.
Step 5
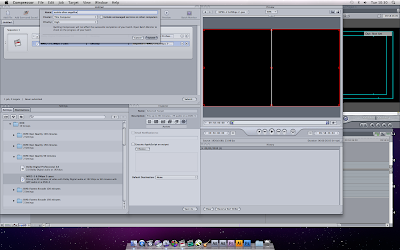
I then submitted the file, so I had to click on Submit to do so. The submit option is placed above the Inspector and underneath Sequence 1. I named the file 'Suskia Ellen Angelika', then made sure that the Cluster was set to Cluster This Computer and that the Priority was set to Priority High. | then submitted this and then waited until was Successful.
Step 6
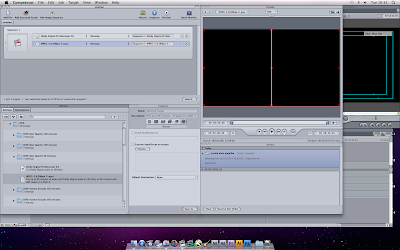
Now that the file has submitted successfully I'll be able to see a tab appear named History which is places on the right hand side of the Inspector. In my case the file was submitted successfully as we can see the file named 'Suskia Ellen Angelika' where it says History Today. It shows the date of submission and that it was successful.
Step 7
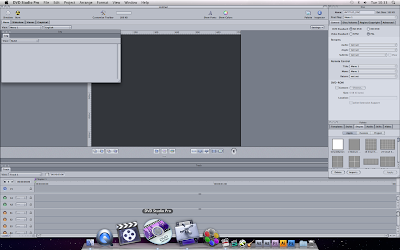
For the next part of the DVD Menus and Assets creation I'll have to open DVD Studio Pro.
Step 8

After opening DVD Studio Pro, I clicked on File, then Import, then Assets then chose files 'Sequence 1-MPE.bps -pass.m2v', 'Sequence 1-MPE.bps 2-pass.m2v' and 'Sequence 1-Dol Professional 2.0.ac3' then I clicked Import.
Step 9
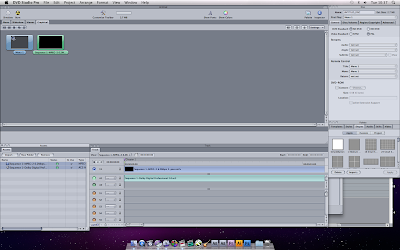
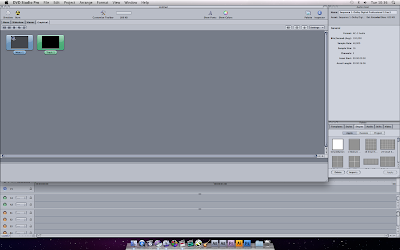
I then clicked on Graphical an dragged both files up to Graphical Sequence 1.
Step 10
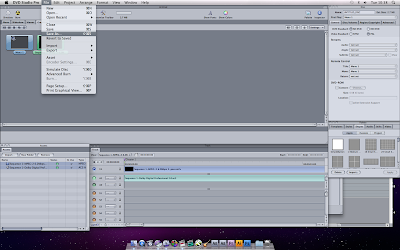
I then went onto File, Save As, then Save.
Step 11
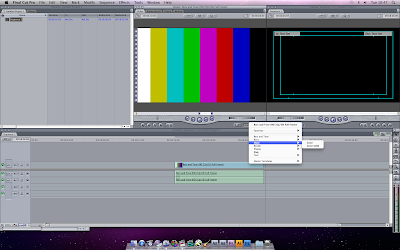
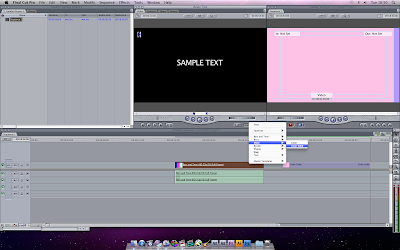
The next step I took was to go onto Final Cut Pro, click onto Text then Matte, and then Color Solid, after that it was Controls, then Color, and then Change The Color, then once all of that was chosen it clicked OK, and finally dragged and dropped it all into Sequence 1.
Step 12
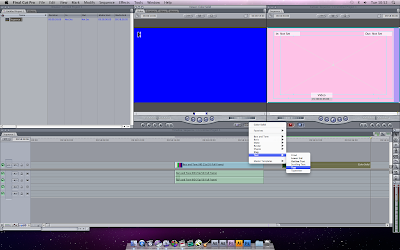
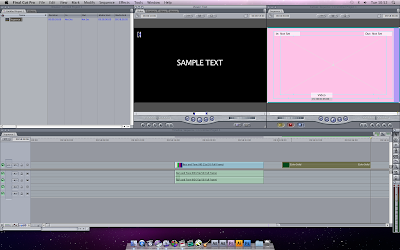
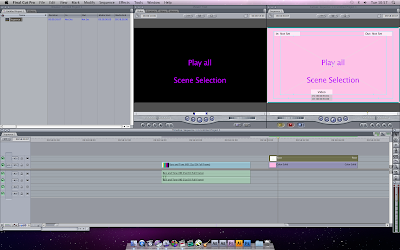
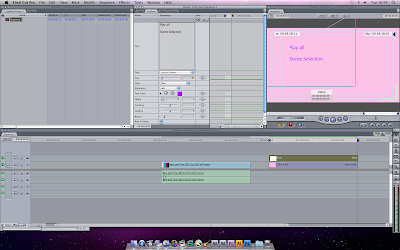
I then had to change the color, to do that I clicked Text, then again Text then once more Text, and then moved onto Controls, Font Color, Change Color, and then changed Alignment to Left and then completed it by clicking OK.
Step 13
After clicking OK I then had to drag and drop the text to Sequence 1 just above the Color Solid.
Step 14
The final step was to click Sent Input then Save As, then give the file a name and then Save and Output.
